
Starting a Wormery

Photo- Natasha Birley
We are always looking for ways to be more sustainable at home. Everyone’s homes are different, as is our space, resources and way we live. We believe it’s so important to all do our best to live in the most environmentally conscious way we can.
This summer we got a wormery, we felt it was the best way to recycle our food waste, creating a compost to put back into the soil we are growing from.

Photo- Natasha Birley
I put up a post on Freecycle saying we are looking for a wormery and was kindly gifted this from someone who was taking one to the skip. There are so many quirky wormeries out there- whether you want to build your own, or buy something interesting. My favourite is the Urbalive composter its retro shape makes it such a lovely addition to the garden and it comes with a starter kit. Or you could follow this Youtube tutorial and make your own with plastic boxes you have at home or can easily find.
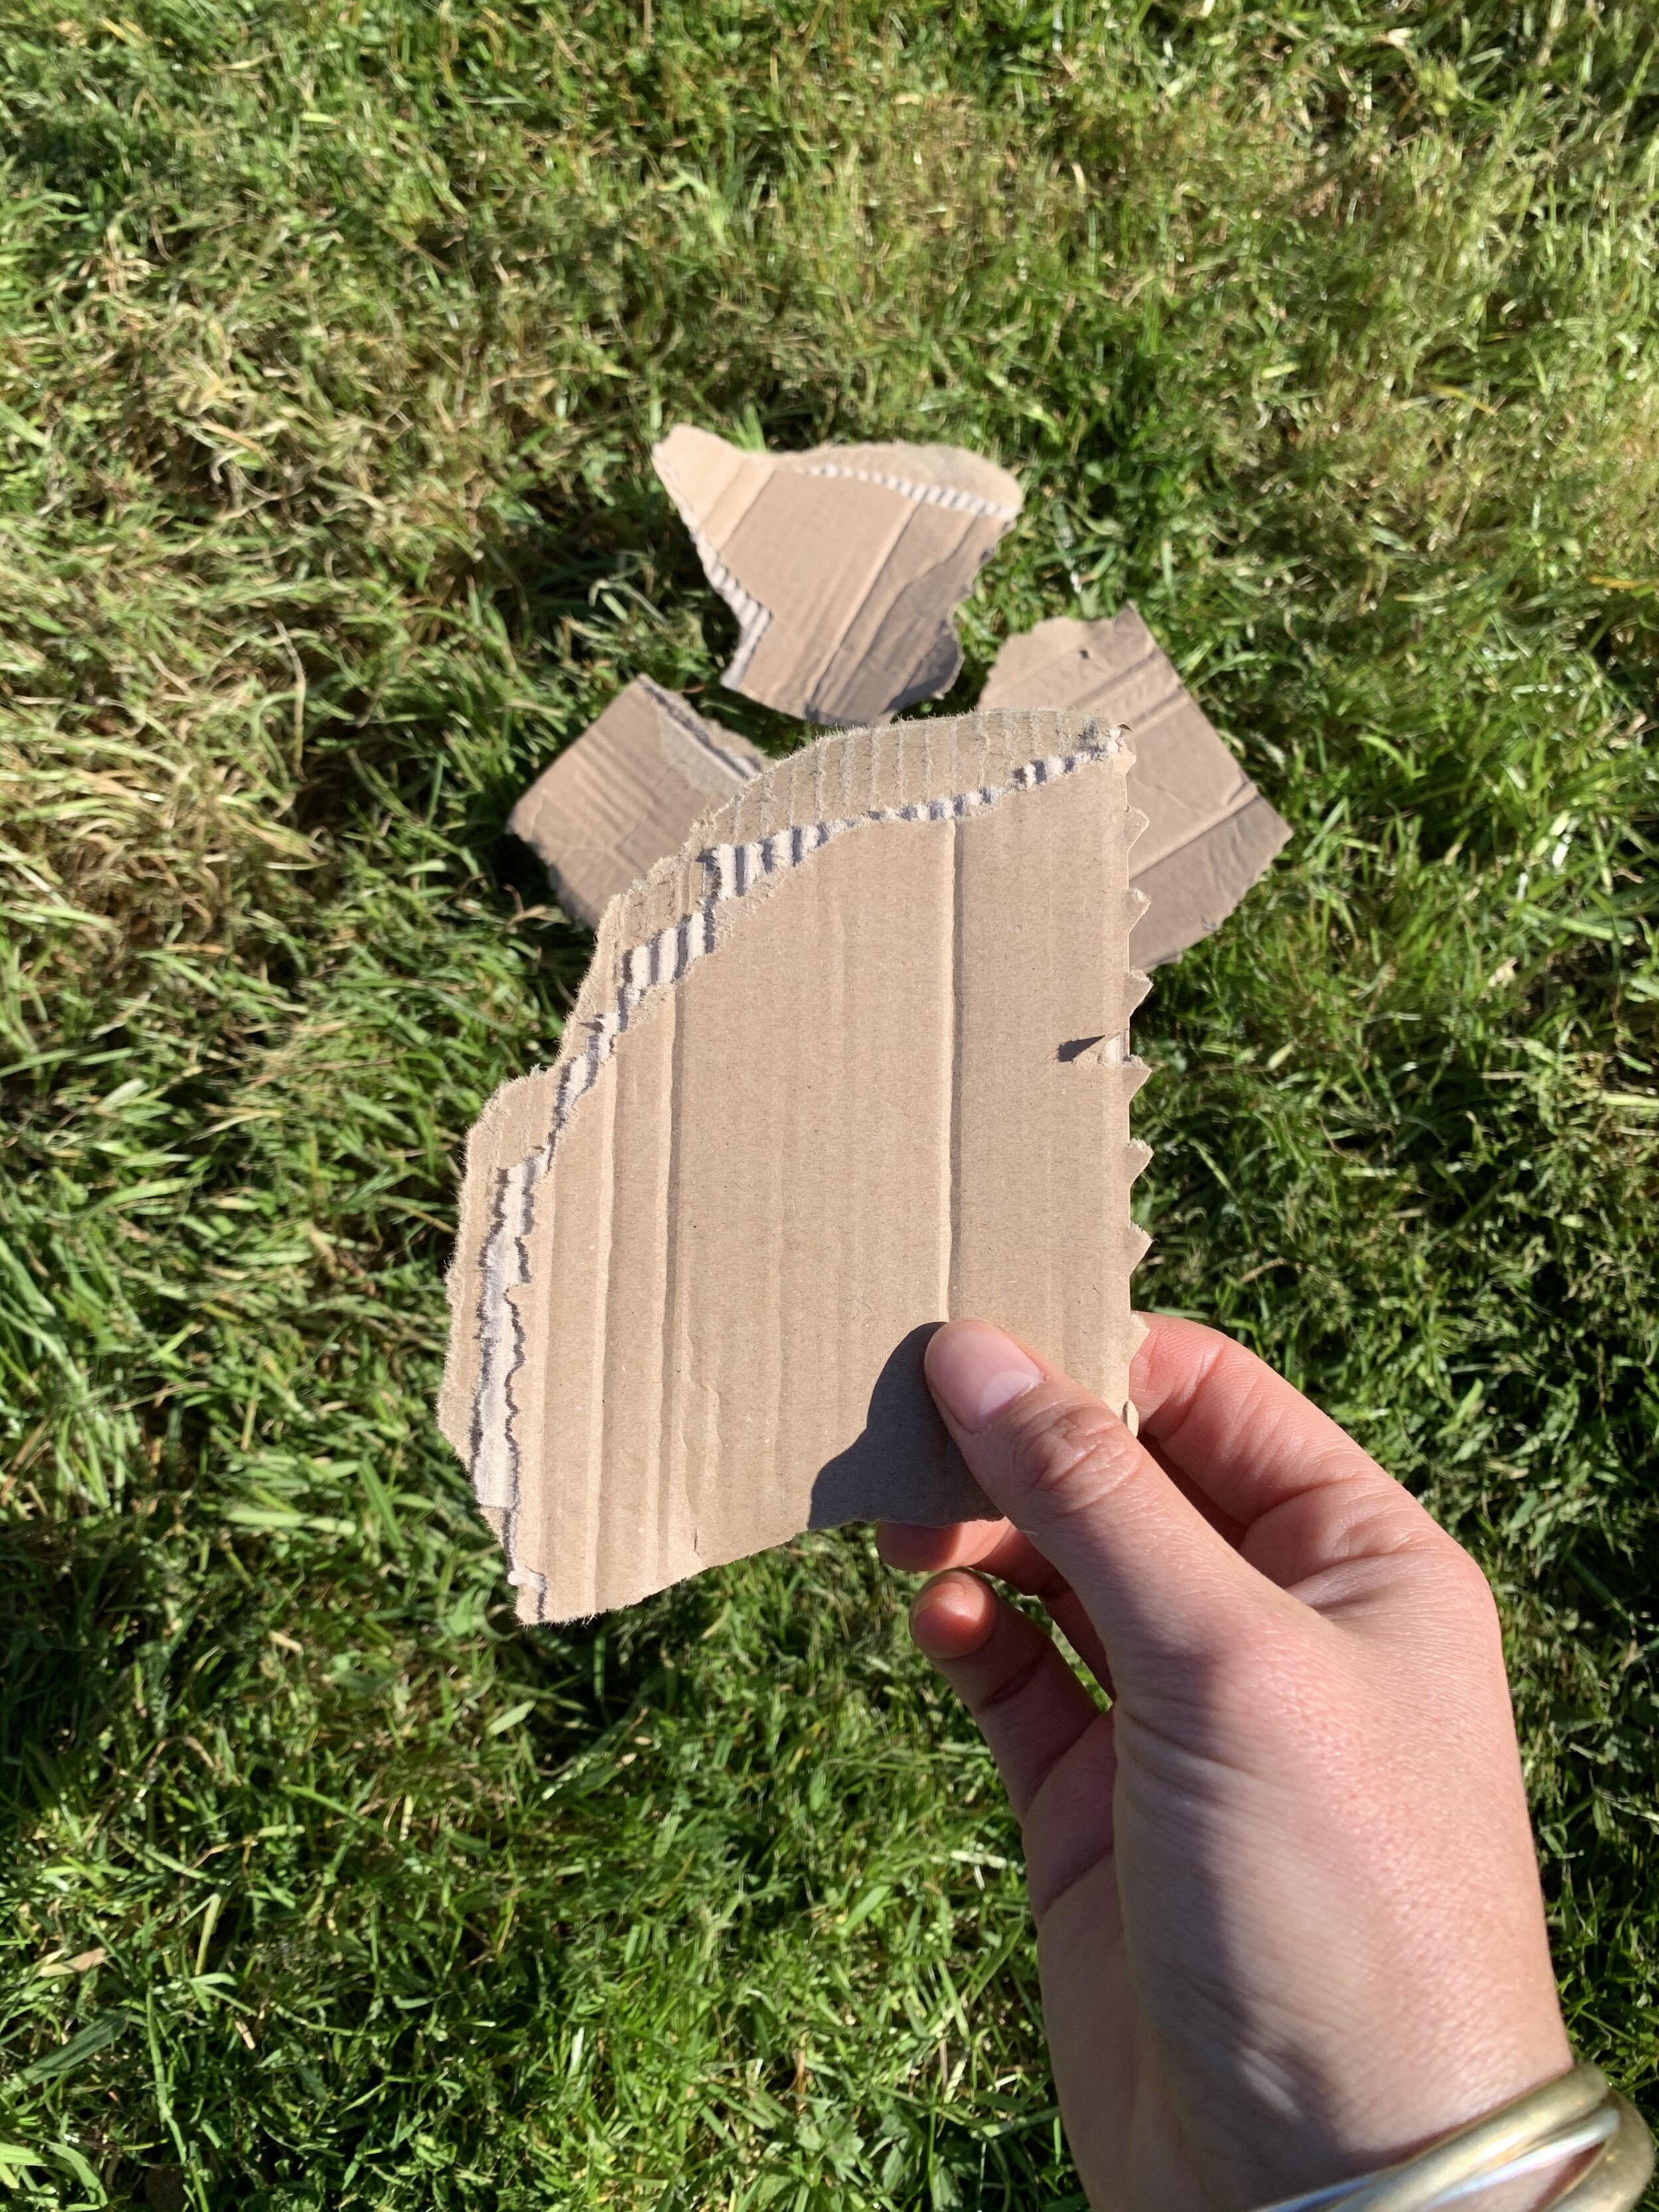
Photo- Natasha Birley
Once you have your wormery you need to place it in a good position in your garden. Make sure it’s out of direct sunlight so it doesn’t get too hot- worms naturally live below the ground so favour a cool temperature. When you’re happy with the position it’s time to create your worms bed by ripping up some brown natural cardboard and place at the bottom of the wormery- around 5-10cm deep, then sprinkle with water.

Photo- Yorkshire Worms
I ordered my starter kit from Yorkshire Worms, it comes with full instructions on what you need to do. First you add the coir on top of the cardboard (they supply all this in the kit) and then put your worms in. I chose dendrobaena worms as they are hardy, tough worms- ideal for compost. They give you lime to sprinkle on the bed which neutralises the ph. You add your worms and then feed them the worm food provided for the first few days while they settle in. If you order these worms they come in the post, the postman was very confused as to why I had a worms delivery and passed the package over very quickly!
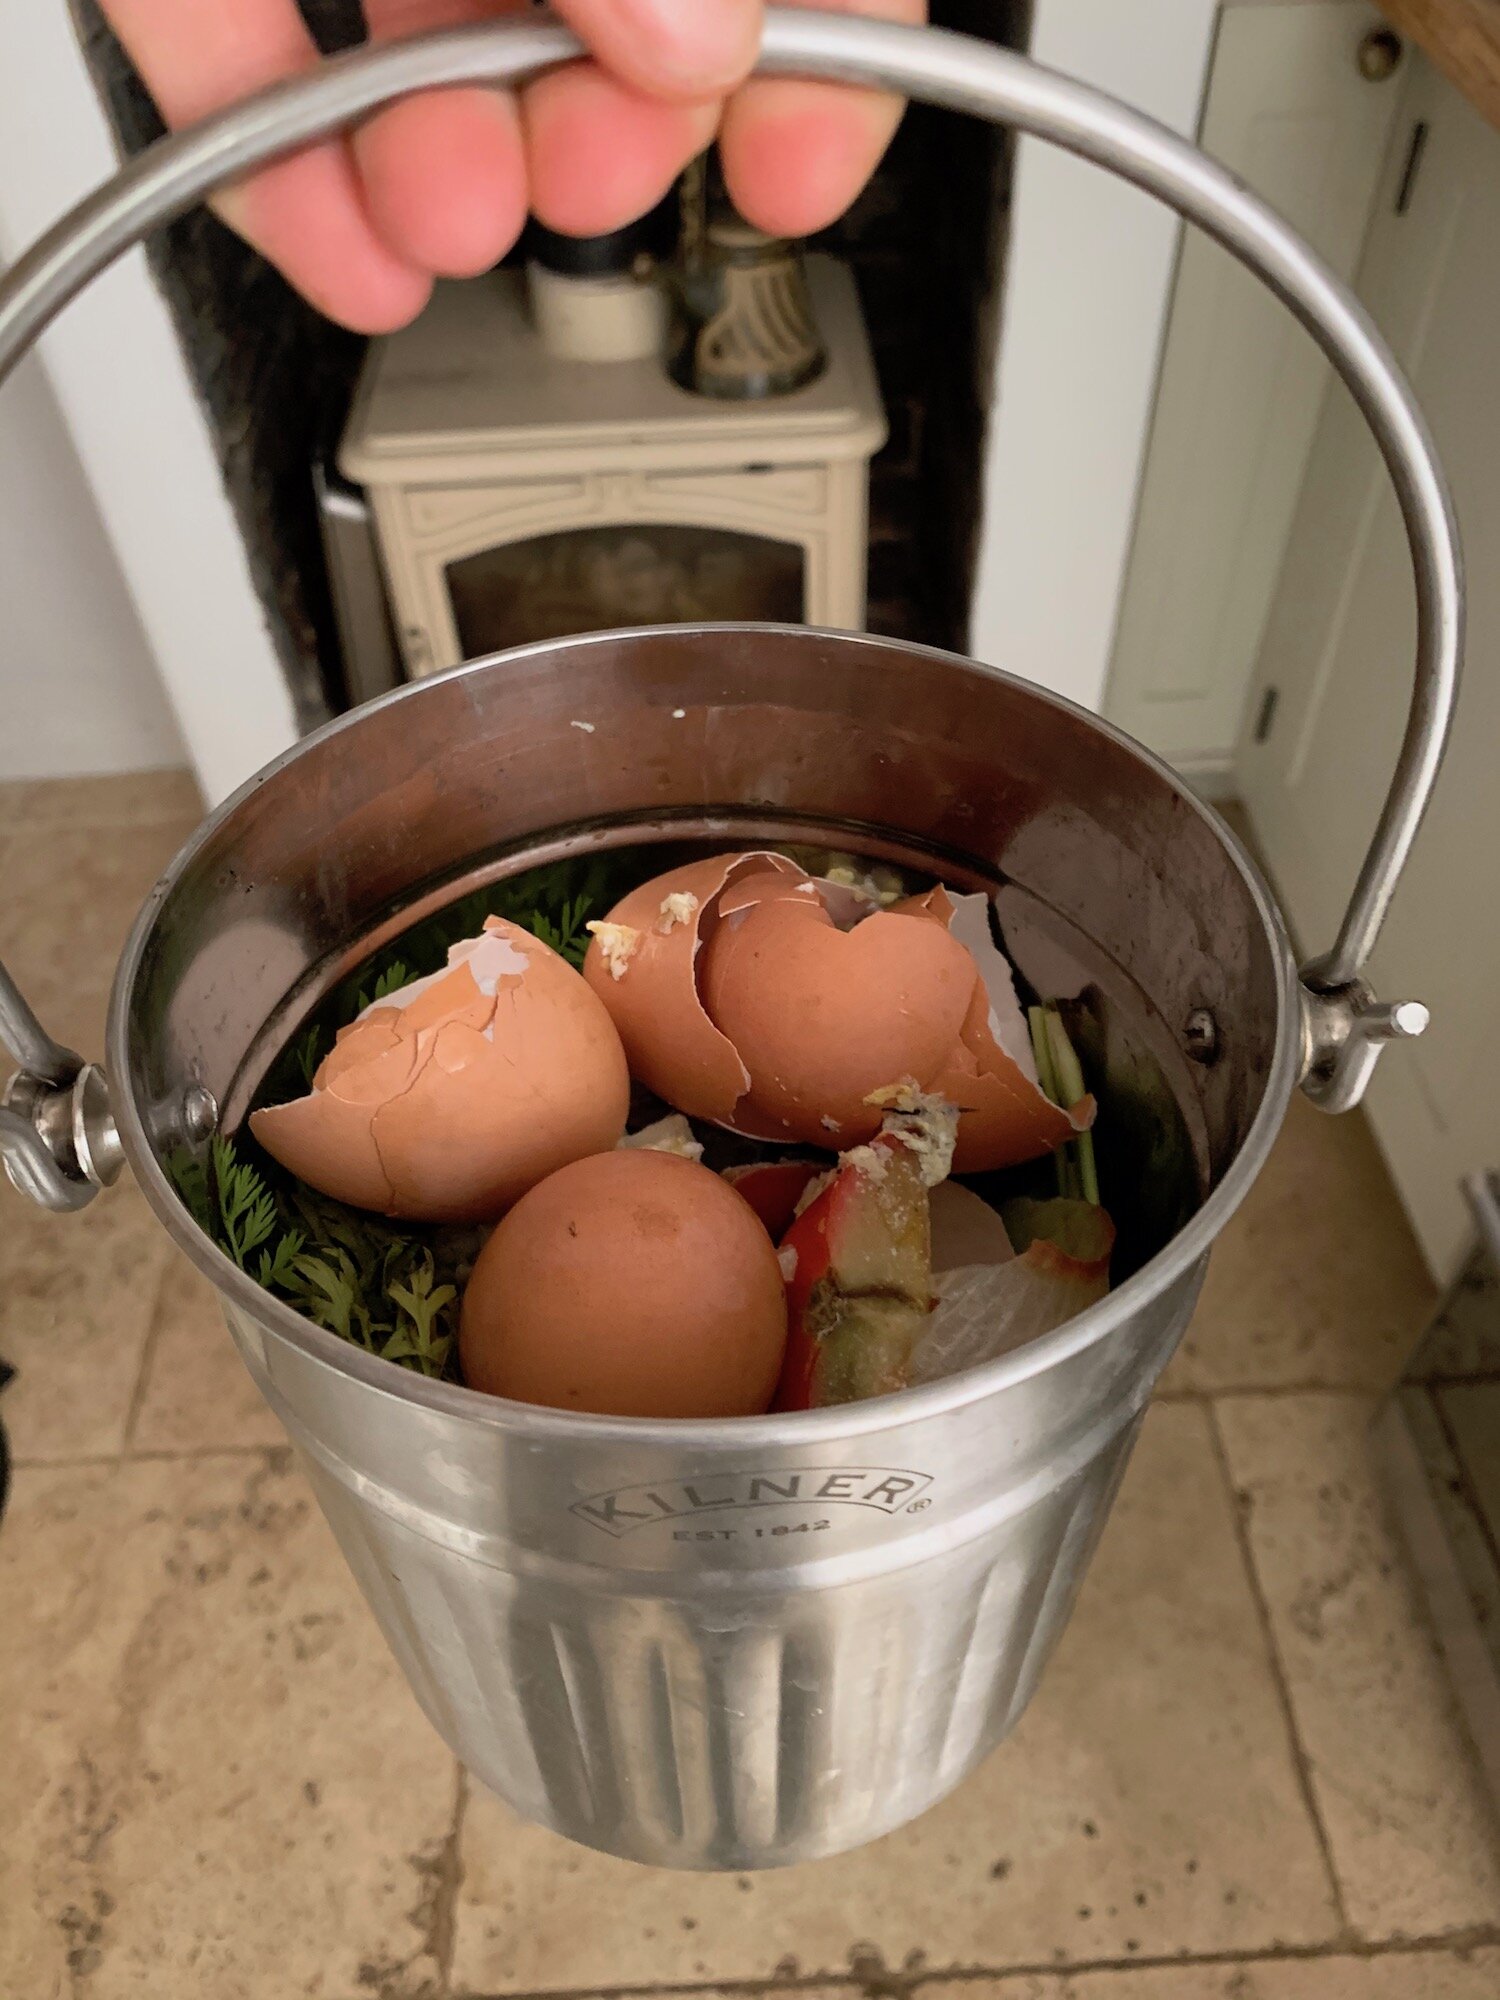
Photo- Natasha Birley
I have a Kilner composter, its the perfect size and looks so nice in the kitchen. The lid has a washable carbon filter so there isn’t any scent coming from the food in there. When you start feeding your worms, little and often is best. Try not to put in very large bits of waste to begin with- I would just tear up banana skins, cauliflower leaves etc to make them a bit smaller. You don’t have to be too precious here but its easier for the worms to start eating. Worms do not like meat, onion or garlic.

Photo- Natasha Birley
The worms like to be kept in a moist environment, so add a sprinkle of water if it’s looking dry in there. (I do this once a week) if your wormery has a tap at the bottom you can release the moisture. I water my house plants with this as it’s full of nutrients to make them strong and healthy.

Photo- Natasha Birley
Once your wormery starts to get full you need to take out the top 30cm and put it into a bucket on the side. Then you can remove all the compost that your worms have been making. Once thats all out, put the top layer of food back and worms back into your wormery. Most of your worms will be in this 30cm section of the wormery and then just keep adding your kitchen waste as normal. If a few worms are left in the compost it doesn’t matter as they are great for your garden. We use this compost to plant our seeds and vegetables- its a sustainable, great way to be self sufficient with your waste, reaping the benefits by growing your own vegetables.
If you would like any advise or help, please just get in contact we will do anything we can to help you set up!

Photo- Natasha Birley